In summary:
- Mastering your first dive means understanding your body’s reaction to pressure and learning to control it, especially ear equalization.
- Prioritize buying a personal mask, fins, and dive computer for hygiene, comfort, and safety; rent expensive gear like regulators and BCDs initially.
- Your air consumption is directly linked to your calmness and efficiency; slow, deep breathing and proper technique are more important than tank size.
- Panic is a manageable physiological response. The “STOP-BREATHE-THINK-ACT” protocol is your non-negotiable mental reset button.
- Protecting the underwater world is an active skill, from choosing reef-safe sunscreen to mastering buoyancy to avoid any contact with the habitat.
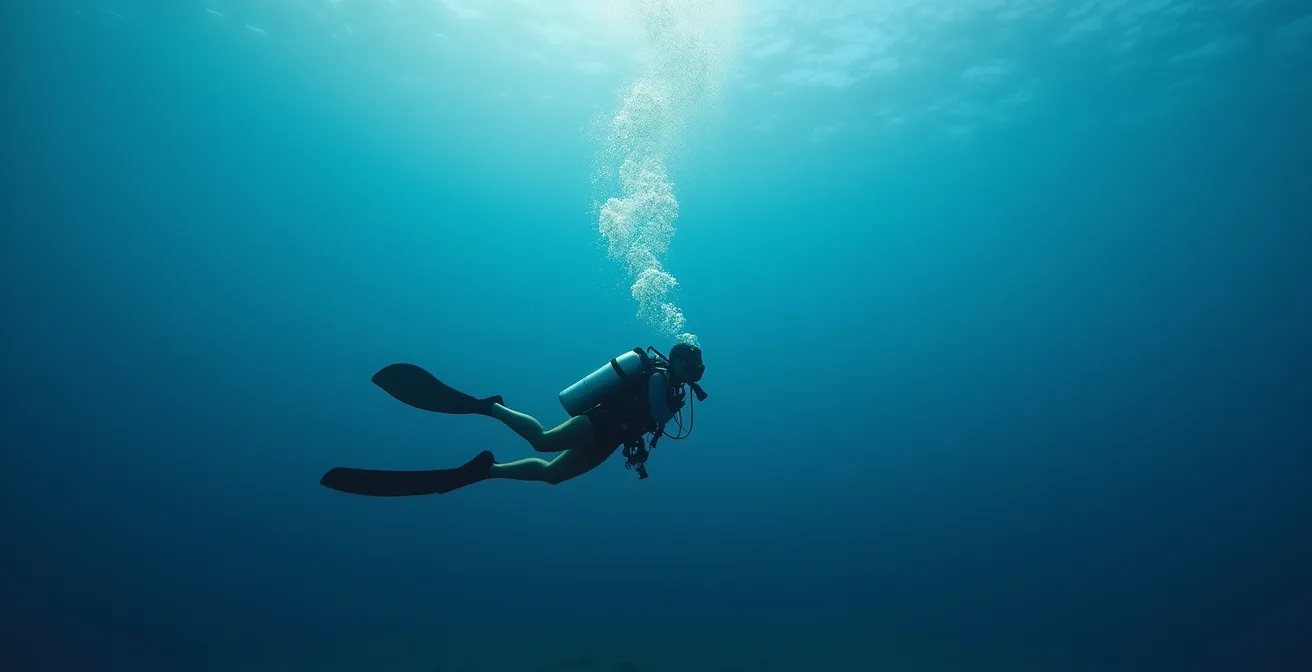
The thought of your first scuba dive is a mix of exhilaration and a quiet, persistent hum of anxiety. What if I can’t breathe? What if my ears hurt? What if my equipment fails? These “what ifs” are completely normal. You’re about to enter an environment your body was not designed for, where the familiar rules of gravity and air no longer apply. The sound of your own breathing becomes the entire soundtrack, and you are placing your trust in a collection of hoses, gauges, and valves.
You’ve probably heard the standard advice: “never hold your breath,” “check your gear,” and the ever-helpful “just relax.” While correct, these are commands, not explanations. They tell you *what* to do, but not *why* it’s critically important. This lack of understanding is the very source of anxiety for many new divers. It creates a reliance on memorized rules rather than building genuine, ingrained confidence in your own abilities and your understanding of the environment.
This is where we shift perspective. True preparation isn’t about creating a longer checklist of rules to memorize under pressure. It’s about demystifying the process. It’s about understanding the simple physics and physiology that govern your body underwater. When you understand *why* your ears feel pressure and *how* to manage it, the sensation is no longer a threat but a signal. When you understand *why* slow, calm breathing extends your dive time, you gain control over your own underwater longevity. Fear thrives in the unknown; our mission is to replace that unknown with knowledge.
This guide is structured to address the eight most pressing questions nervous beginners have. We will move beyond the rules and into the reasoning, transforming you from a hesitant visitor into a calm, competent, and confident diver who is ready to explore the underwater world safely.
Summary: Your First Scuba Dive: Answering the Critical Questions
- Why Your Ears Hurt Underwater and How to Equalize Correctly?
- Rent or Buy: Which Dive Gear Should You Own for Hygiene and Safety?
- How to Lower Your Air Consumption to Stay Down Longer?
- The Panic Spiral: How to Calm Down Instantly at 20 Meters Deep?
- Who to Buddy With if You Are a Nervous Diver?
- Full-Face Mask or Traditional Set: Which Is Safer for CO2 Build-up?
- Why Your Sunscreen Might Be Killing the Ecosystem You Came to See?
- How to Identify Marine Biodiversity Without Disturbing the Habitat?
Why Your Ears Hurt Underwater and How to Equalize Correctly?
The single most common point of failure for a first-time diver isn’t equipment; it’s their ears. That sharp pain you might feel is a direct message from your body. As you descend, the surrounding water pressure increases, squeezing the air space in your middle ear. If you don’t add air to this space to match the outside pressure, you get a painful condition called ear barotrauma. This isn’t a sign of weakness; it’s simple physics. Your mission is not to “tough it out” but to actively and gently manage this pressure difference. This is called equalization.
The most common technique is the Valsalva maneuver: pinch your nose and blow gently, as if trying to pop your ears on an airplane. The key is to do this early and often. You must start equalizing at the surface, before your head even goes under, and continue every meter or so on your way down. Waiting until you feel pain is too late. Pain means the pressure difference is already significant, and your Eustachian tubes—the small passages connecting your throat to your middle ears—are being squeezed shut, making it much harder to equalize.
Case Study: The Dangers of Forcing Equalization
A review of diving incidents reveals that barotrauma is a leading injury for beginners. Many cases involve divers descending too fast or trying to “push through” discomfort. In one documented instance, a novice diver who struggled to equalize on descent ascended too quickly and experienced a “reverse block”—where expanding air gets trapped on the way up. The diver had to descend slightly to release the pressure before continuing a slow, safe ascent. This highlights that the only correct response to equalization problems is to stop, ascend slightly until the discomfort ceases, and then try again. Patience is your most important piece of safety gear.
Think of it as a constant, gentle conversation with your body. If you can’t equalize, your body is telling you to slow down. Ascend a meter or two, give your ears a moment, and try again. Forcing it can lead to injury that will keep you out of the water. Mastering this single skill is the gateway to every dive you will ever do.
Rent or Buy: Which Dive Gear Should You Own for Hygiene and Safety?
Walking into a dive shop, you’re faced with a wall of shiny, expensive equipment. The immediate question is: what do I actually need to own? For a beginner, the answer is guided by three principles: fit, hygiene, and safety familiarity. While it’s tempting to rent everything, a few key pieces of personal gear can dramatically improve your comfort and safety from your very first dive. Your most personal items are the ones that should belong to you first.
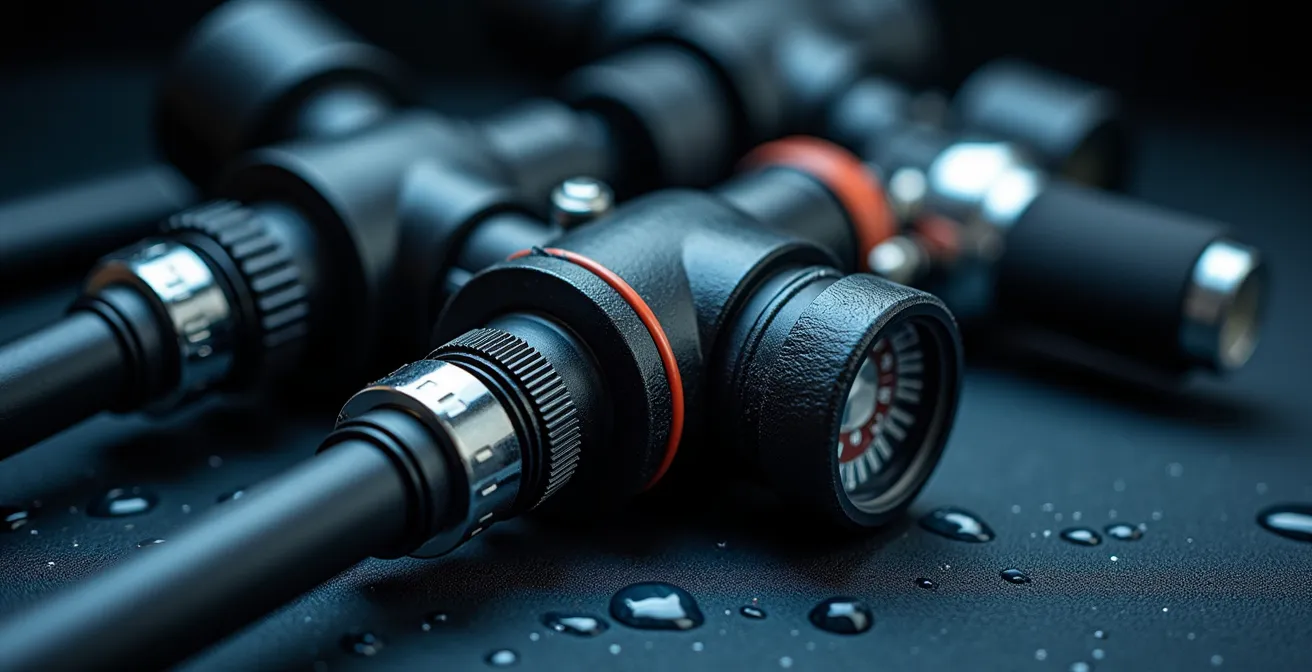
A poorly fitting mask will leak, causing distraction and stress. Fins that aren’t comfortable can cause blisters and leg cramps, increasing your air consumption and fatigue. Most importantly, a dive computer is your single most critical piece of safety equipment. Owning your own means you understand its display, its alarms, and its settings implicitly. You’re not trying to decipher an unfamiliar rental unit’s warnings at 18 meters deep. Conversely, expensive, bulky items that require regular professional servicing—like your regulator and Buoyancy Control Device (BCD)—are perfectly fine to rent initially from a reputable dive center.
Whether you rent or buy, a pre-dive safety check is non-negotiable. However, owning your gear fosters a deeper sense of responsibility and familiarity. You know its history, its service record, and its quirks. This intimate knowledge is a layer of safety that renting can’t provide. The table below breaks down the priority for your first purchases.
This comparative table clarifies which pieces of gear offer the most immediate benefit for a beginner to own versus rent, focusing on safety, comfort, and cost-effectiveness.
| Equipment | Buy First | Rent Initially | Key Factors |
|---|---|---|---|
| Mask | ✓ | Personal fit critical, hygiene, affordable ($30-80) | |
| Fins | ✓ | Comfort prevents blisters, personal power transfer ($50-150) | |
| Dive Computer | ✓ | Safety tracking, personal dive history, familiarity ($200-500) | |
| Wetsuit | ✓ | Hygiene, proper fit for warmth, frequent use ($100-300) | |
| Regulator | ✓ | High cost ($350-700), requires servicing, rental quality usually good | |
| BCD | ✓ | Expensive ($300-500), bulk for travel, rental adequate | |
| Tank | ✓ | Heavy, requires testing, included in dive fees |
How to Lower Your Air Consumption to Stay Down Longer?
One of the first anxieties a new diver has is “running out of air.” You see experienced divers gliding effortlessly for an hour while your tank pressure seems to plummet in 30 minutes. The secret isn’t a bigger tank; it’s efficiency. Air consumption is a direct reflection of your comfort, your buoyancy control, and your breathing technique. It’s a skill you can learn and master, and it begins on land, long before you enter the water. New divers often exhibit higher breathing rates due to a combination of nerves and inefficient movement. For instance, studies on diving efficiency show that beginner divers typically consume 20-25 liters per minute while experienced divers can average 12-15 liters per minute. The goal is to close that gap through technique, not physical conditioning.
The number one enemy of good air consumption is anxiety, which leads to rapid, shallow breathing. The antidote is to practice slow, deep, and deliberate breathing. Think of your lungs like bellows: a long, full inhale, followed by a longer, even more complete exhale. This pattern does two things: it maximizes the gas exchange in your lungs, and it triggers your body’s parasympathetic nervous system—the “rest and digest” system—which actively calms you down and lowers your heart rate. Wasted motion is the second enemy. Every frantic fin kick, every adjustment with your hands, is wasted energy that costs you air. By mastering neutral buoyancy, you can move through the water with minimal effort, using slow, powerful kicks from your hips, not your knees.
Improving your air consumption is a direct measure of your growing confidence and skill underwater. Start practicing these breathing exercises on land to build the muscle memory you’ll need underwater:
- Box Breathing: Get comfortable and practice this pattern: Inhale for 4 seconds, hold your breath for 4 seconds, exhale for 4 seconds, and hold the exhale for 4 seconds. This builds conscious breath control.
- Diaphragmatic Breathing: Lie down with a light book on your stomach. Practice breathing so that only the book rises and falls, without significant movement in your chest. This ensures you’re using your full lung capacity efficiently.
- Focus on the Exhale: While diving, make your exhale longer than your inhale. A long, slow exhale is the most calming part of the breath cycle and ensures you fully vent used air (CO2).
The Panic Spiral: How to Calm Down Instantly at 20 Meters Deep?
Panic is the most dangerous thing in diving, and it almost never comes out of nowhere. It’s a “spiral”—a series of small, manageable problems that compound until you feel a complete loss of control. It might start with a leaking mask, difficulty equalizing, or feeling cold. This triggers a physiological response: your breathing becomes rapid and shallow, your heart rate spikes, and you experience tunnel vision. This is your body’s “fight or flight” instinct kicking in, an evolutionary response that is disastrously wrong underwater. The urge to bolt for the surface is overwhelming, yet it is the single worst thing you can do.
Recognizing the onset of this spiral is the key to stopping it. As a leading expert from the Divers Alert Network emphasizes, early intervention is everything. It’s about catching the first signs before they cascade.
The most important thing is to recognize early warning signs of panic – rapid breathing, tunnel vision, and the urge to bolt to the surface. Once you identify these, you can intervene before losing control.
– Dr. Neal Pollock, Research Director, Divers Alert Network Annual Diving Report
The moment you feel that first flicker of anxiety, you must deploy a pre-rehearsed, iron-clad mental protocol. You cannot reason your way out of panic; you must act your way out with a simple, drilled sequence. The universal procedure is: Stop, Breathe, Think, Act. It’s a mental circuit breaker designed to interrupt the panic spiral and return control to the rational part of your brain. It works because it forces you to pause the feedback loop of fear and focus on simple, achievable tasks.
Your 5-Point Mental Safety Check: Before Every Dive
- Emergency Signals: Rehearse the “problem” and “out of air” hand signals with your buddy on the surface.
- Breathing Protocol: Agree on the “Stop, Breathe, Think, Act” procedure as your shared response to any issue.
- Equipment Familiarity: Physically touch your own and your buddy’s alternate air source and BCD inflator so you know where they are by feel.
- Buoyancy Check: Confirm you are properly weighted and can achieve neutral buoyancy at the surface before descending.
- Ascent Plan: Verbally agree on a maximum depth and a slow ascent rate (no faster than your smallest bubbles) for the dive.
Who to Buddy With if You Are a Nervous Diver?
The buddy system is the cornerstone of recreational diving safety, but not all buddies are created equal, especially for a new or anxious diver. Your buddy is your primary safety system—your redundant air source, your second set of eyes, and your first responder in an emergency. Choosing the right one is arguably more important than any piece of gear you can buy. Being paired with an overconfident or inattentive buddy can be more dangerous than diving alone, as it creates a false sense of security. The statistics are stark: according to diving safety research, up to 40% of diving fatalities involve buddy separation. A good buddy stays close, communicates frequently, and is focused on the dive and on you.
For a nervous diver, the ideal “buddy” for your first few post-certification dives is not another new diver. While you can learn together, you’re essentially pooling your inexperience. A much safer and more confidence-inspiring choice is to dive with an experienced divemaster or instructor. This isn’t a sign of failure; it’s a strategic investment in your own safety and long-term enjoyment of the sport. A professional’s sole job is your safety and comfort. They can anticipate problems, manage your buoyancy, navigate the dive site, and allow you to focus entirely on your breathing, your skills, and the incredible environment around you.
The Value of Professional Supervision for Building Confidence
A study of newly certified divers found that those who hired private divemasters for their first 5-10 dives reported 73% higher confidence levels and were significantly more likely to continue diving long-term. One diver, who described herself as very nervous initially, credited diving with a dedicated professional for her success. It allowed her to build a strong foundation of skills without the social pressure of keeping up with a group. This initial investment in professional supervision helped her overcome her anxiety and, within two years, she became a certified rescue diver herself. It proves that starting with the right support system is crucial.
When you are no longer worried about navigation or managing the dive plan, you are free to build the core skills and comfort that will make you a great diver and, eventually, a great buddy for someone else. Don’t be afraid to request a divemaster for your first ocean dives. It’s the smartest, safest choice you can make.
Full-Face Mask or Traditional Set: Which Is Safer for CO2 Build-up?
As a beginner, you’ll see divers with different gear, and the full-face mask (FFM) can look appealing. It allows you to breathe through your nose and sometimes even has communication systems. But for a new diver, the traditional mask and regulator setup is unequivocally the safer and better choice. The primary reason comes down to two critical factors: dead air space and essential skill development.
A full-face mask has a much larger internal volume than a standard mask. This creates a larger “dead air space” where your exhaled carbon dioxide (CO2) can accumulate if you’re not breathing deeply and effectively. A buildup of CO2 can lead to headaches, anxiety, and a dangerous condition called hypercapnia. A traditional regulator, held in your mouth, has a minimal dead air space, making it much more efficient at flushing out CO2 with every exhale. While you can’t breathe through your nose with a traditional setup, this is a feature, not a bug. It forces you to become a conscious mouth-breather, which is a foundational skill for diving.
Furthermore, the traditional setup forces you to master essential safety skills that FFMs bypass. Learning to clear a partially flooded mask and to recover your regulator are non-negotiable rites of passage. They build the confidence that you can solve problems underwater. An FFM doesn’t need to be cleared in the same way, but if it fails or floods completely, the situation is far more complex to manage. For recreational diving, the simplicity and proven safety of the traditional setup is unmatched.
This table directly compares the two systems on key safety and usability metrics for a beginner.
| Factor | Full-Face Mask | Traditional Mask + Regulator |
|---|---|---|
| Dead Air Space | 150-350ml (higher CO2 risk) | 50-100ml (lower CO2 risk) |
| CO2 Build-up Risk | Higher if not properly purged | Lower with proper breathing |
| Mask Clearing Skill | Not required (bypassed) | Essential skill practiced |
| Emergency Air Sharing | More complex procedure | Standard octopus use |
| Communication | Voice communication possible | Hand signals only |
| Best Use Case | Cold water, contaminated water, professional ops | Recreational, warm water, training |
| Beginner Suitability | Not recommended | Recommended for skill development |
Why Your Sunscreen Might Be Killing the Ecosystem You Came to See?
As divers, we are privileged guests in a fragile underwater world. Part of our responsibility is to leave no trace, and that mission begins before we even get on the boat. Many common sunscreens contain chemicals that are devastating to coral reefs and marine life. When you swim, these chemicals wash off your skin and into the water, where they can cause irreparable harm. The scale of the problem is staggering; NOAA research indicates that up to 14,000 tons of sunscreen wash into our oceans annually.
The primary culprits are chemical UV filters like oxybenzone and octinoxate. Scientific studies have shown these chemicals can cause coral bleaching (when corals expel the algae living in their tissues, turning them white), damage coral DNA, and disrupt the development of young marine life. Even in microscopic concentrations, they are highly toxic. This growing awareness has led places like Hawaii, Palau, and Key West to ban sunscreens containing these harmful ingredients. As a diver, choosing a “reef-safe” sunscreen is not optional; it’s a fundamental part of ethical diving.
But “reef-safe” can be a misleading marketing term. The only way to be sure is to read the active ingredients list. Look for sunscreens that use non-nano zinc oxide or non-nano titanium dioxide. These are minerals that create a physical barrier on your skin to block the sun, rather than a chemical one. They are currently the only ingredients considered truly safe for marine ecosystems. Better yet, the best sunscreen is a physical barrier. Wearing a rash guard or a dive skin covers most of your body, dramatically reducing the amount of sunscreen you need to apply in the first place.
Checklist: How to Choose and Apply Reef-Safe Sun Protection
- Check the Active Ingredients: Ensure they are ONLY non-nano zinc oxide or titanium dioxide.
- Avoid the Chemical Filters: If you see oxybenzone, octinoxate, octocrylene, or avobenzone on the label, put it back.
- Cover Up First: Wear UV-protective clothing like rash guards and hats to minimize skin exposure. This is the most effective and safest method.
- Choose Lotions, Not Sprays: Aerosol sprays are inefficient and lead to more sunscreen ending up in the environment than on your skin.
- Apply Early: Apply mineral sunscreen at least 20-30 minutes before entering the water to allow it to bind to your skin properly.
Key takeaways
- Master Your Body: Equalization and slow, controlled breathing are the two most critical physical skills. They are the foundation of your safety and comfort.
- Know Your Gear: A personal mask and computer are your first best investments. Always perform a buddy check, no matter how experienced you are.
- Control Your Mind: Panic is a predictable physiological process. The “Stop, Breathe, Think, Act” protocol is your non-negotiable tool to break the cycle.
- Respect Your Environment: Your presence has an impact. From the sunscreen you wear to your fin kicks, your goal is to be a silent, weightless observer.
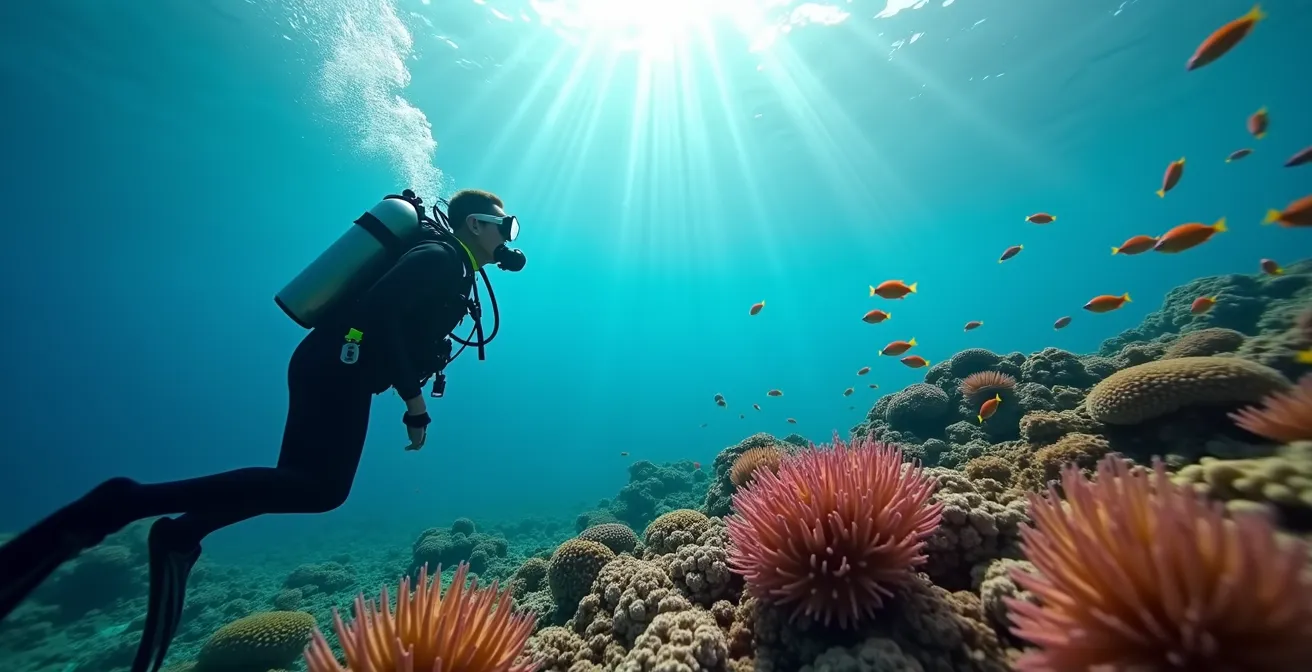
How to Identify Marine Biodiversity Without Disturbing the Habitat?
After conquering the initial technical challenges, the true magic of diving begins: observing marine life in its natural habitat. This is an incredible privilege, and with it comes a profound responsibility. The prime directive of any diver is to be a passive observer, not an active participant. Every interaction, no matter how small, can cause stress to animals and damage to the delicate ecosystem. Mastering this respectful distance begins with mastering your own position in the water.
Perfect, neutral buoyancy is the ultimate skill for ethical marine observation. When you are perfectly weighted, you can hover effortlessly, like an astronaut in space. You don’t need to use your hands, you don’t risk kicking the fragile coral below, and you don’t stir up sand and sediment that can choke marine organisms. This control allows you to get close without ever touching. A good rule of thumb is to stay at least two meters (or six feet) away from everything. Let the marine life decide if it wants to approach you; never chase an animal for a better look or a photograph.
This idea of passive observation is beautifully captured by the concept of a diver’s “sphere of influence.” It’s more than just what you can touch; it’s the turbulence from your fins, the sound and pressure of your exhaled bubbles, and even your shadow passing over the reef.
Every diver has a ‘sphere of influence’ underwater – from fin turbulence to bubble streams to shadows. Being aware of this invisible impact zone is the first step to minimizing disturbance.
– Dr. Mark Erdmann, Conservation International Marine Program
Being aware of this sphere means using gentle fin kicks (like the frog kick) near the bottom, controlling your bubbles near overhangs, and moving slowly and deliberately. By minimizing your impact, you’ll find that wildlife behaves more naturally, and your encounters become far more meaningful. You are a guest in their home; the goal is to be one they never even knew was there.
Your journey into scuba diving is a lifelong process of learning and refinement. By building a strong foundation based on understanding, not just memorization, you are setting yourself up for a lifetime of safe, incredible adventures. The next logical step is to put this knowledge into practice in a controlled environment with a professional who can guide you.